Create Your Own Cookie Cutters!
Nothing says “I love you” like the smells, fun, and joy associated with baking delightful sweet treats with your loved ones. So what better thing to do to help celebrate Valentine’s Day with your family!?
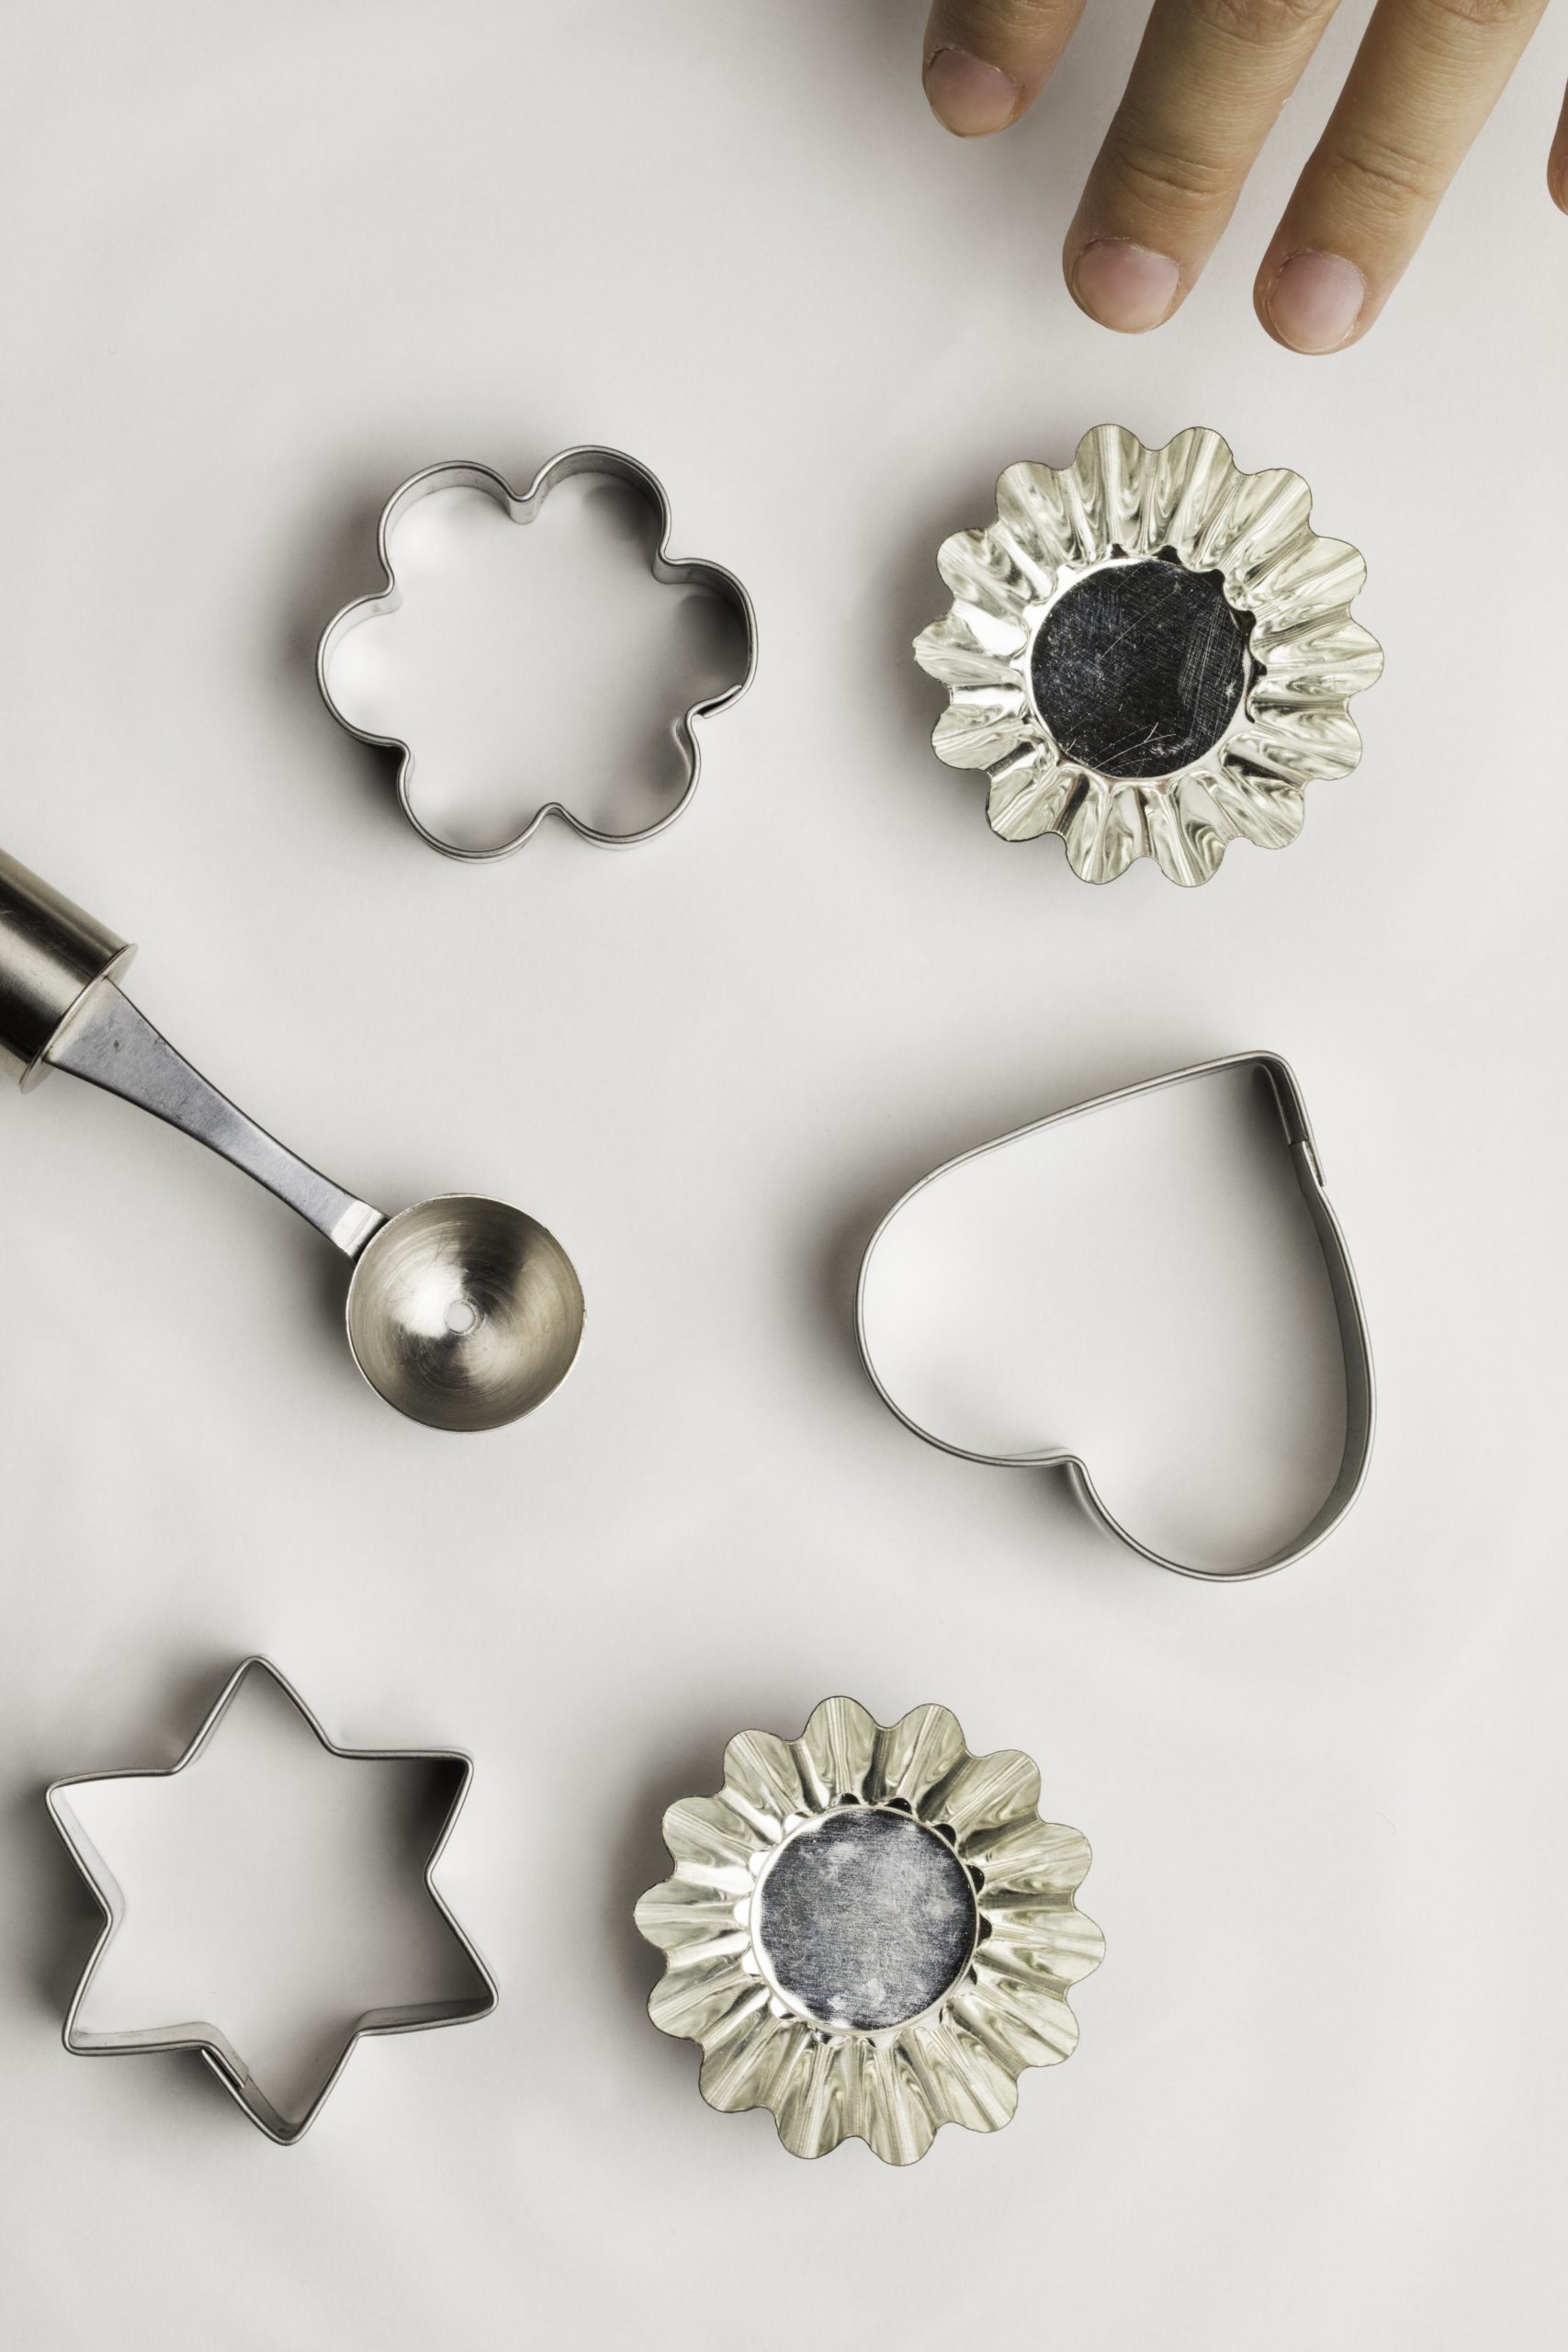
What You’ll Need
- Access to a 3D Printer
- A computer (Windows or Mac)
- Internet Access
- An Imagination!
Basic Steps
1.) Find a Design
By far, the most important step in the process. You’ll want to not only (1) find the design that’s right for you, but (2) find a design that can work well as a cookie cutter. Thankfully there are a few good options out there for you.
If you are looking for an introductory jump into cookie cutter design, highly recommend visiting Thingiverse, Pinshape, or other like-sites for ready-made designs. There are tons out there easy enough to find with Google.
If you’re feeling a bit more adventurous or creative, make your own, starting with a simple image found at Google Images. I highly recommend you use ‘Tools’ button to refine your search by: ‘Black and White’,’Line Drawing’, & general Google search terms to find simple results. You’ll specifically want to look for simple outlines forms with little to no inner detail – as that often gets lost in the translation process.
Download your 3D design or image.
(skip to #4 if you have a 3D design)
2.) Refine your Design
More often than not, you’ll need to edit or tweak the design or tune the image you’ve downloaded. You may want to simplify things further, or you may not like a specific portion of it, but rest assured you can change things to your liking.
Speaking exclusively about an image you’ve downloaded, if you don’t have an editor like Photoshop on your computer, I highly recommend the only Pixlr Editor for photo editing. Use an editor to remove any and all features that you do not want, and ensure that you have a thick, simple single-outlined shape to print.
Save your image.
3.) Prepare for the printer
Next we are going to need to take your image and turn it into something 3D printing software can work with. To do this, we need to turn your image into a vector design. You can either rely on the free online image Vectorizer or use something like Adobe Illustrator or free Inkscape to do this. Use any of these to translate your raster image into a vector image.
Save your design
4.) Prepare for the Printer: Part II
Next we need to turn that vector into a 3D model using the online TinkerCAD tool. Once you’ve created your free account, ‘Create a New Design’, and ‘Import’ your SVG file. You can now select the small grey box in the middle to scale your designs’ height to 20-25mm. Be sure your design fits on your workplane, and export the print (Optionally add a backing to the print using an appropriately flattened and scaled cube or cylinder).
Export the design ‘For 3D Print’ as an STL file.
5.) Ready the 3D Printer
 Lastly, be sure to prepare your printer just like any other prin
t. This should be a relatively easy print with no supports, rafts, brims, or skirts necessary (unless you want a backing). Be sure to rotate the design so the lip is on the base of the printing plate with the cutter standing vertical. Secondly, be extra sure that the height of your cutter is big enough for your dough; I recommend a height of 2-2.5 cm.
Load your STL File, Save & Print!
Things to Watch Out For
Too Complex
Many online design images are too complex. Be sure to start with simple outlines, and stay away from designs with interior shapes.
Too Thin
Many online design images have thin lines. While these look good, thin exterior lines mean thin (less rigid) prints. Be sure yours has a thick single-outlined shape.
Too Complicated
If you’re having trouble with getting your design just right, or are working with children, you may want to start with a pre-prepared print from Thingiverse or the like. Use this as a jumping-off point for future family designs.
Inspiration